
Furniture Vinyl Selector Tool
Not sure which vinyl to buy? Answer these two questions about your furniture piece to get a professional recommendation.
Flat & Simple
Tabletops, drawer fronts, large panelsCurved & Detailed
Chair arms, molding, round legs, edgesChange Look
Color change, new finish (matte/gloss)Heavy Protection
Scratch resistance, self-healing, clear coatRecommended Material
Why this choice?
...
Key Specs:
Pro Tip
...
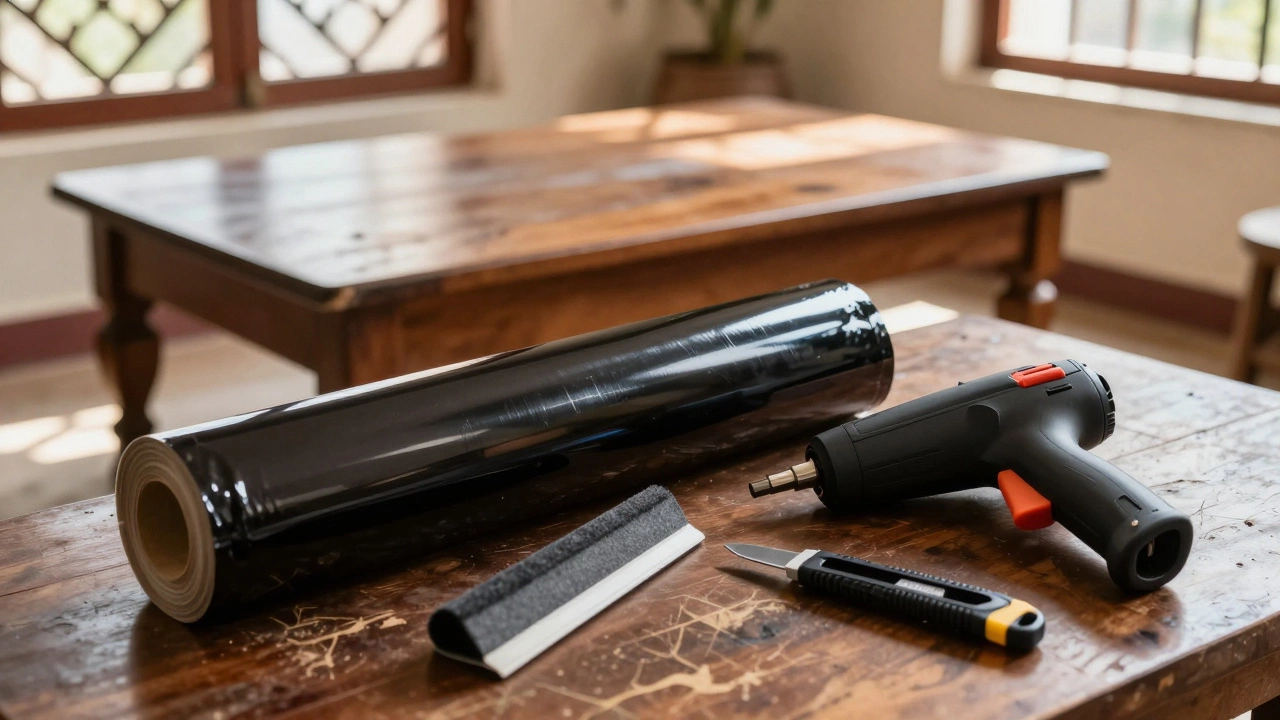
You’ve got a roll of leftover car wrap is a high-quality vinyl film originally designed for vehicle customization and protection. It’s durable, glossy, and sticks like glue. Now, you’re staring at your scratched-up coffee table or that beat-up sofa armrest, wondering if this automotive-grade material could save the day. Short answer: yes, absolutely. But before you start peeling back backing paper, there are some critical details about surface prep, adhesive strength, and texture that will determine whether you get a showroom finish or a sticky disaster.
Using vinyl wrap is a thin, flexible polymer sheet used to cover surfaces for aesthetic or protective purposes on furniture isn’t just a hack; it’s becoming a popular method in interior design for quick makeovers and heavy-duty protection. Whether you’re moving house, dealing with kids and pets, or just want to change the color of an old cabinet without sanding and painting, car wrap offers a solution that’s cheaper and faster than traditional refinishing. However, not all wraps are created equal, and applying them to irregular furniture shapes requires a different technique than smoothing them over a car door.
Why Use Car Wrap on Furniture?
The primary reason people turn to automotive vinyl is a specialized type of cast or calendered vinyl designed to withstand extreme temperatures and UV exposure on vehicles for furniture is protection. We’re talking about scratch resistance, stain prevention, and impact absorption. If you have a wooden dining table that sees daily abuse from hot plates and sharp cutlery, a layer of clear bra (Paint Protection Film) or a colored vinyl can act as a sacrificial shield. When it gets damaged, you peel it off and replace it, leaving the original wood underneath pristine.
Beyond protection, there’s the aesthetic angle. Maybe you bought a beautiful mid-century modern dresser, but the finish clashes with your new living room decor. Sanding and repainting takes days of drying time and ventilation. Wrapping it takes an afternoon. You can achieve matte black, brushed aluminum, or even carbon fiber looks instantly. Plus, unlike paint, which permanently alters the surface, vinyl is removable. This makes it ideal for renters who need to restore their furniture to its original condition when they move out.
Choosing the Right Type of Wrap
Not every roll of vinyl sitting in your garage is suitable for indoor furniture. Understanding the difference between cast vinyl is a premium, thin, and highly conformable vinyl made through a chemical process, ideal for complex curves and calendered vinyl is a thicker, more rigid vinyl made by rolling layers together, best for flat surfaces and short-term use is crucial. For furniture, especially pieces with curved edges, rounded corners, or intricate molding, you want cast vinyl. It’s thinner and stretches better, allowing it to conform to tight radii without lifting or bubbling. Calendered vinyl is cheaper but stiffer; it works fine for flat drawer fronts or large tabletops but will likely fail on the edges of a chair arm or a round leg.
If your goal is purely protection rather than color change, look into Paint Protection Film (PPF) is a transparent, self-healing urethane film applied to surfaces to prevent scratches and chips. Often called "clear bra," PPF is thicker than standard vinyl and has self-healing properties. Minor scratches and swirl marks disappear with heat. It’s perfect for high-traffic areas like kitchen counters, stair railings, or the arms of a frequently used sofa. While PPF is more expensive than decorative vinyl, its durability and clarity make it worth the investment for valuable pieces.
| Type | Best For | Durability | Cost | Removability |
|---|---|---|---|---|
| Cast Vinyl | Curved edges, detailed moldings | 5-7 years | High | Easy |
| Calendered Vinyl | Flat surfaces, large panels | 1-3 years | Low | Moderate |
| PPF (Clear Bra) | Scratch protection, glass, wood | 10+ years | Very High | Difficult (requires professional removal) |
Surface Preparation: The Make-or-Break Step
You can buy the most expensive vinyl in the world, but if your surface isn’t prepped correctly, it won’t stick. Furniture surfaces are often dirtier and more porous than car paint. Cars are waxed and sealed; furniture might have dust, oils, food residue, or loose varnish. Start by cleaning the area thoroughly with isopropyl alcohol (IPA). This removes grease and ensures the adhesive bonds directly to the substrate. Avoid using household cleaners like Windex or multi-purpose sprays, as they often leave behind residues that interfere with adhesion.
Next, inspect the surface for imperfections. Vinyl is a mirror. Any bump, crack, or rough spot underneath will show through. For wood furniture, sand down any raised grains or splinters until smooth. Fill deep scratches with wood filler and let it dry completely. If you’re wrapping a fabric-covered piece, such as a sofa arm, the rules change entirely. Standard vinyl won’t stick to fabric. You’d need a specialized fabric-friendly adhesive or a different approach altogether, like slipcovers. Stick to hard surfaces: wood, metal, plastic, laminate, and glass.
Step-by-Step Application Process
Applying vinyl to furniture follows similar principles to car wrapping but on a smaller, often more complex scale. Here’s how to do it right:
- Measure and Cut: Measure your surface and add at least 2-3 inches of excess material on all sides. This gives you room to stretch and tuck the edges. Cut your piece slightly larger than needed; you can always trim later.
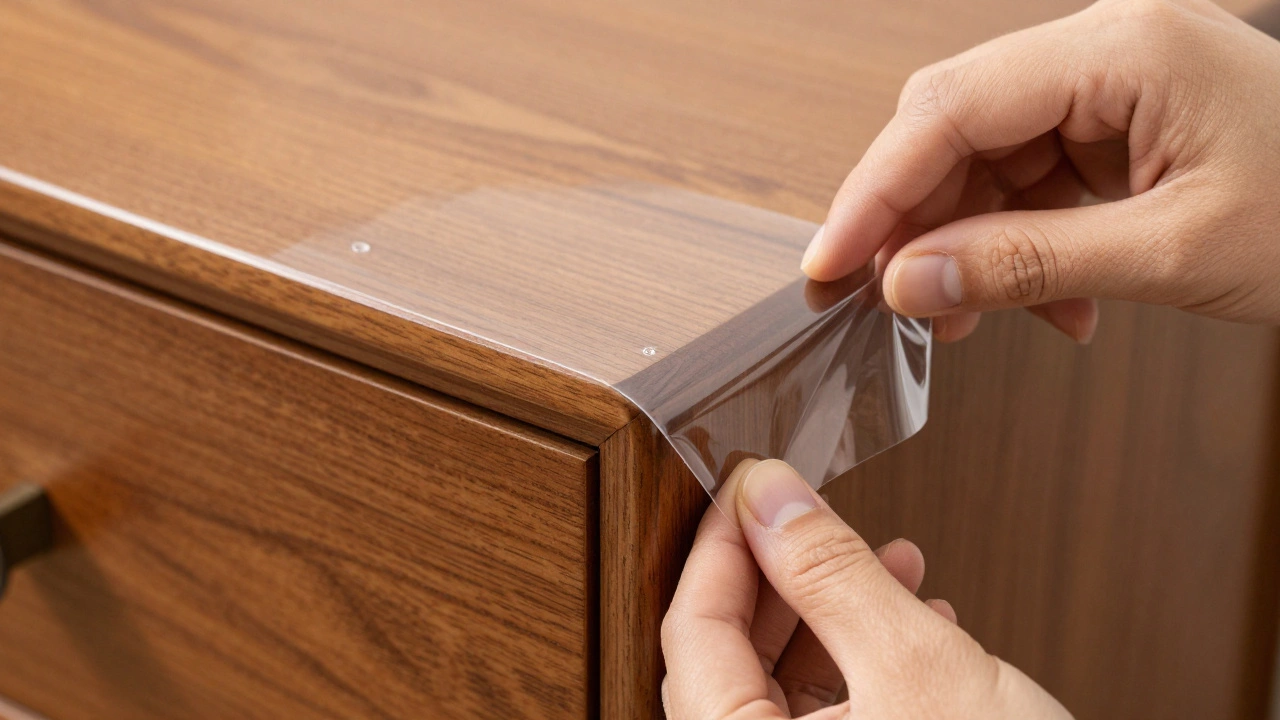
- Position the Vinyl: Peel back a small section of the backing paper (about 6 inches) and align it with the edge of your furniture. Use low-tack masking tape to hold it in place temporarily. This prevents the vinyl from jumping around while you work.
- Squeegee Out Air Bubbles: Using a soft felt squeegee, start from the center and push outward toward the edges. Work slowly. If you see bubbles, lift the vinyl slightly and re-squeegee. Don’t rush this step; trapped air leads to peeling later.
- Heat and Stretch: For curved edges, use a heat gun set to medium temperature. Warm the vinyl gently-it becomes pliable and stretches easily. Wrap it around the edge and press firmly. Be careful not to overheat, which can shrink the vinyl or damage the adhesive.
- Trim Excess: Once the vinyl is smooth and adhered, use a sharp utility knife or razor blade to trim the excess material. Hold the blade at a 45-degree angle and pull the vinyl taut away from the cut line for a clean edge.
- Post-Heat: After trimming, go over the entire surface with the heat gun again. This activates the adhesive fully and helps the vinyl relax into its final shape. Let it cool naturally.
Common Pitfalls and How to Avoid Them
One of the biggest mistakes beginners make is applying vinyl to cold surfaces. Cold vinyl is stiff and prone to cracking. Keep your workspace warm (above 70°F / 21°C) and warm the vinyl before application. Another issue is adhesive failure on glossy surfaces. High-gloss lacquers or waxy finishes can resist bonding. In these cases, lightly scuff the surface with fine-grit sandpaper (2000 grit) to create a mechanical bond, then clean again with IPA.
Air bubbles are another headache. They usually result from rushing the squeegee process or applying vinyl to a dirty surface. If you encounter large bubbles, don’t try to poke them with a needle unless necessary. Instead, lift the vinyl and re-smooth it. Small pinholes can sometimes be worked out with heat and pressure. Remember, patience is key. Taking extra time during prep and application saves hours of frustration later.
Long-Term Maintenance and Removal
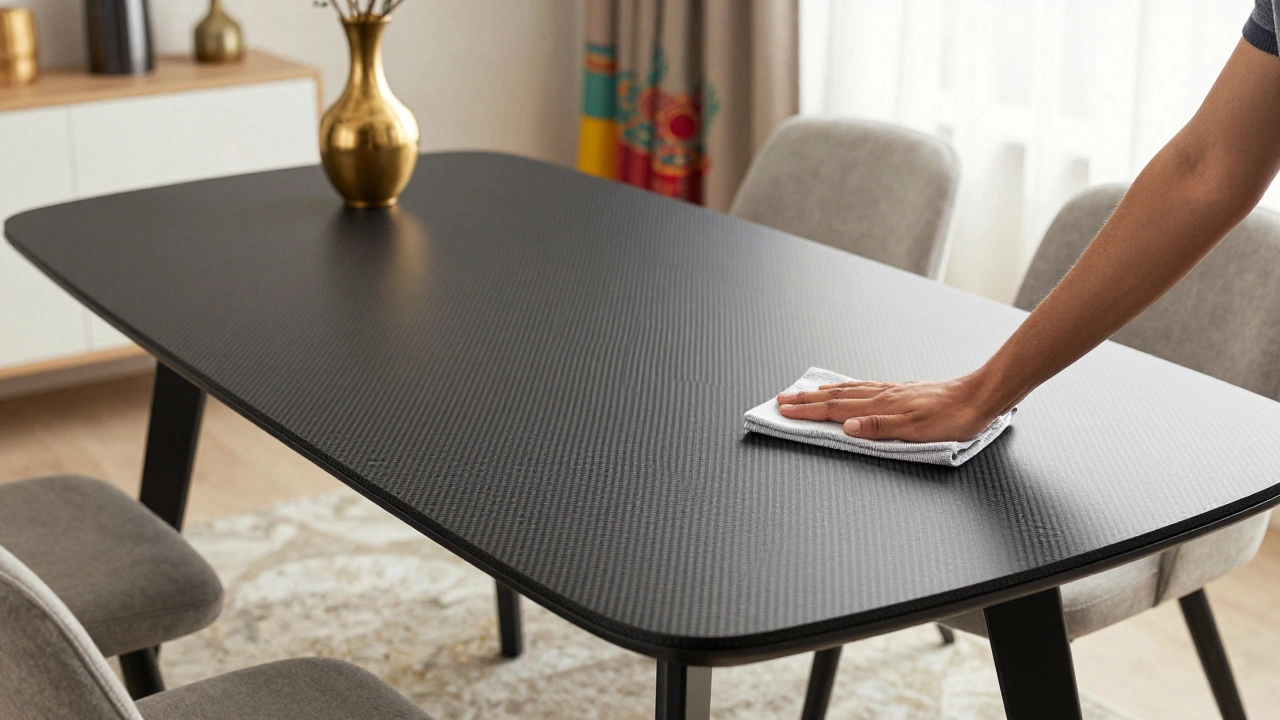
Once wrapped, your furniture needs minimal maintenance. Clean it with a damp microfiber cloth and mild soap. Avoid abrasive scrubbers or harsh chemicals like bleach or acetone, which can degrade the vinyl or cause discoloration. For stubborn stains, a mixture of water and dish soap usually does the trick. Regular dusting prevents grit buildup, which can act like sandpaper underfoot or under objects placed on the surface.
When it’s time to remove the wrap, start by heating the edges with a heat gun. This softens the adhesive and allows you to peel the vinyl off slowly and cleanly. Pull at a low angle (close to the surface) to avoid tearing the vinyl or damaging the underlying furniture. If adhesive residue remains, use an adhesive remover or rubbing alcohol. Most quality car wraps leave no residue if removed correctly, but older or lower-quality films might require some elbow grease.
Is It Worth It?
Wrapping furniture with car wrap is a cost-effective, reversible way to protect and refresh your home interiors. It’s particularly useful for high-use items, rental properties, or experimental design projects. While it requires some skill and the right tools, the results can rival professional refinishing jobs. Just remember: choose the right vinyl type, prep meticulously, and take your time. Your furniture-and your wallet-will thank you.
Can I use car wrap on fabric furniture?
Standard car wrap vinyl is not designed to adhere to fabric. It lacks the flexibility and breathability needed for textiles. Attempting to wrap fabric will likely result in poor adhesion, wrinkling, and potential damage to the fabric fibers. For fabric furniture, consider using slipcovers, upholstery tape, or specialized fabric adhesives instead.
Will car wrap damage my wood furniture when removed?
If applied and removed correctly, high-quality cast vinyl should not damage finished wood surfaces. However, removing vinyl from raw, unfinished, or poorly sealed wood can pull up the top layer of the finish. Always test a small, inconspicuous area first. Use heat during removal to soften the adhesive and minimize stress on the surface.
How long does car wrap last on furniture?
The lifespan depends on the type of vinyl and usage. Cast vinyl typically lasts 5-7 years indoors, while calendered vinyl may only last 1-3 years. Paint Protection Film (PPF) can last 10+ years. Factors like sunlight exposure, heat, and physical abrasion can shorten this timeframe. Indoor furniture generally experiences less wear than exterior applications.
Do I need a heat gun to wrap furniture?
While not strictly mandatory for flat surfaces, a heat gun is highly recommended for any piece with curves, edges, or contours. Heat makes the vinyl pliable, allowing it to stretch and conform tightly without lifting. A hair dryer can work in a pinch, but it lacks the precise temperature control of a dedicated heat gun, increasing the risk of overheating or insufficient warming.
Can I wrap glass tables with car wrap?
Yes, you can wrap glass tables, but you must ensure the glass is impeccably clean and free of oils. Use a high-clarity vinyl or PPF to maintain transparency. Be cautious with edges; glass edges are often sharp and can cut the vinyl. Consider rounding the edges with tape or filing them slightly before application to prevent premature tearing.