Custom Wardrobe Design: How to Plan, Build, and Style Your Perfect Closet
Ever stare at a messy bedroom and wish you had more room for clothes? A custom wardrobe can turn that frustration into a sleek, functional space that actually looks good. The best part? You don’t need a designer’s budget – just a clear plan and a few smart choices.
Plan Your Space and Layout
Start by measuring the wall you want to use. Write down height, width, and depth, then sketch a quick rectangle on paper. Think about how you move inside the closet: do you need a long hanging rod for dresses, or several short rods for shirts? Add a shelf for shoes, a drawer for accessories, and you’ve got the basics.
Next, decide where the doors go. Sliding doors save space in tight rooms, while hinged doors are easier to install and give you a classic look. If you have a high ceiling, consider a double‑deck system – lower section for everyday wear, upper section for seasonal items.
Pick Materials and Finishes
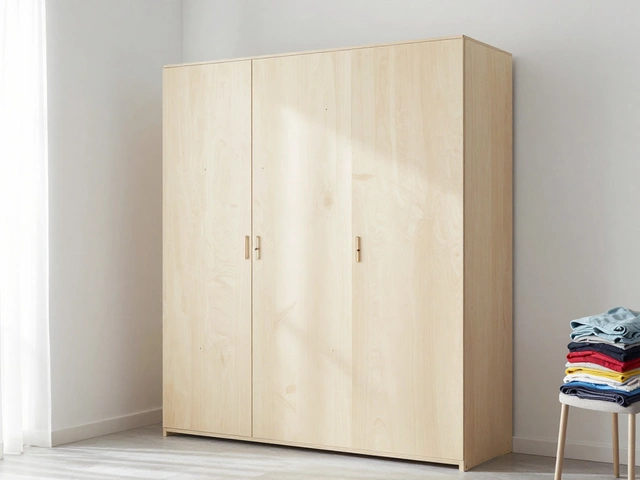
Wood is the go‑to for most custom wardrobes because it’s sturdy and feels warm. Pine is cheap and easy to paint, while oak or maple offers a richer grain if you’re after a premium feel. For a modern vibe, try laminate or high‑gloss MDF; they’re budget‑friendly and come in many colors.
Don’t forget hardware. Soft‑close hinges, sleek drawer slides, and sturdy handles make daily use smoother. Even a tiny upgrade like brushed nickel pulls can lift the whole look without breaking the bank.
When choosing finishes, match the wardrobe to the room’s existing palette. A light oak can brighten a dark bedroom, while a dark walnut adds drama to a minimalist space. Test a small sample on the wall before committing – lighting can change how a color looks.
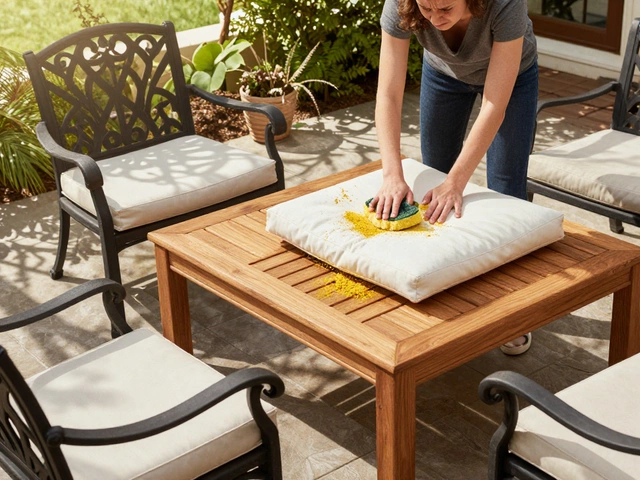
Storage solutions are where you can really personalize the wardrobe. Add pull‑out shoe racks, a built‑in iron board, or a tie rack on the inside of the door. Adjustable shelves let you reconfigure the space as your wardrobe evolves.
Budget wise, list every component: timber, hardware, hinges, and labor if you’re hiring a carpenter. Look for sales on bulk wood and recycle leftover pieces for small shelves. A DIY approach can save 30‑40% of the cost, but make sure you have the right tools and skills.
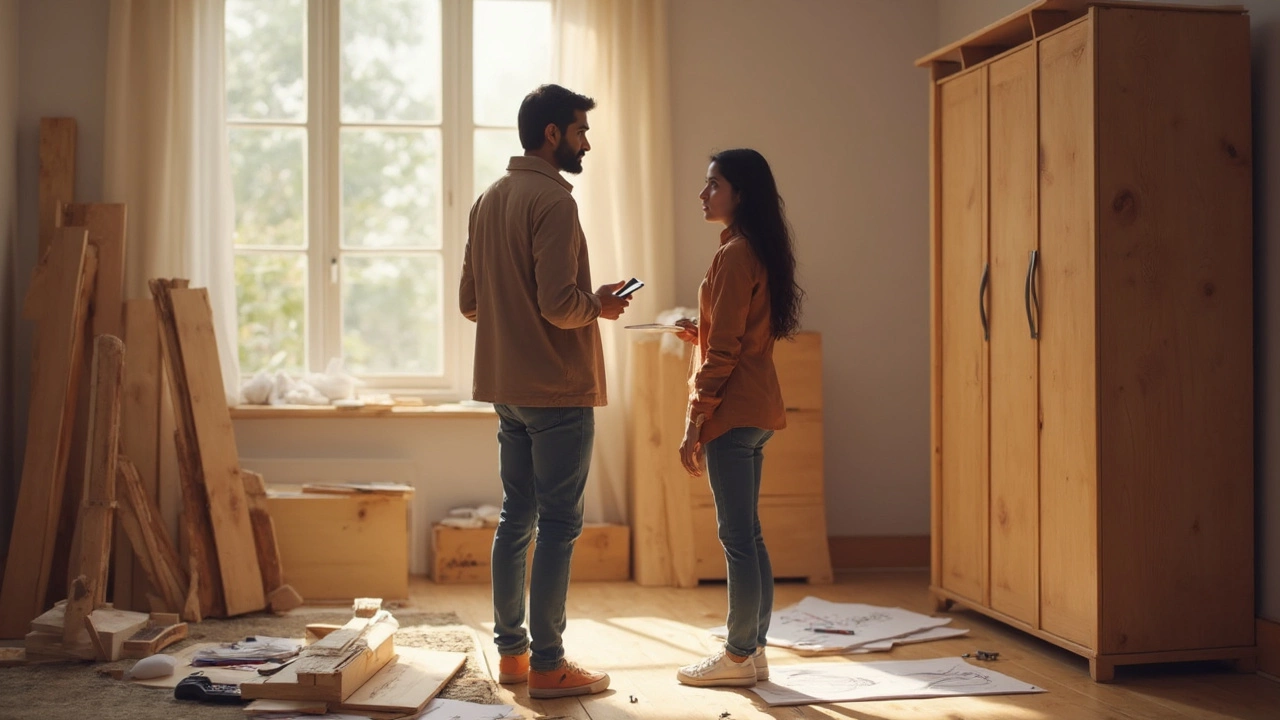
Installation day is easier if you prep everything beforehand. Cut all panels to size, pre‑drill holes for hinges, and label each piece. If you’re working with a professional, share your sketches and measurements clearly – it avoids costly mistakes.
Finally, add a personal touch. A strip of LED lighting inside the wardrobe makes finding outfits at night a breeze. A decorative rug or a piece of art above the closet can turn it into a focal point rather than a hidden storage unit.
With a solid plan, the right materials, and a few clever storage ideas, your custom wardrobe will not only organize your clothes but also boost the look of your bedroom. Ready to start? Grab a tape measure, sketch that layout, and turn the chaos into a closet you’ll actually love using.
Is it Cheaper to Build a Wardrobe? Real Numbers, Real Answers
Wondering if building a wardrobe saves money compared to buying one? This article breaks down the real costs, compares DIY and store options, and gives you practical tips on where you can save and what to watch out for. We’ll explore material prices, hidden costs, time investment, and how your skills make a difference. Expect smart advice to help you decide if building a wardrobe is the right move for your budget and space. You'll get hacks straight from people who’ve lived through the sawdust and shopping carts.