DIY Wardrobe Ideas & Tips – Build Your Own Closet
Did you know you can craft a functional wardrobe for under $200? With the right plan and a few tools, a DIY wardrobe can look as polished as a store‑bought one while fitting your exact space.
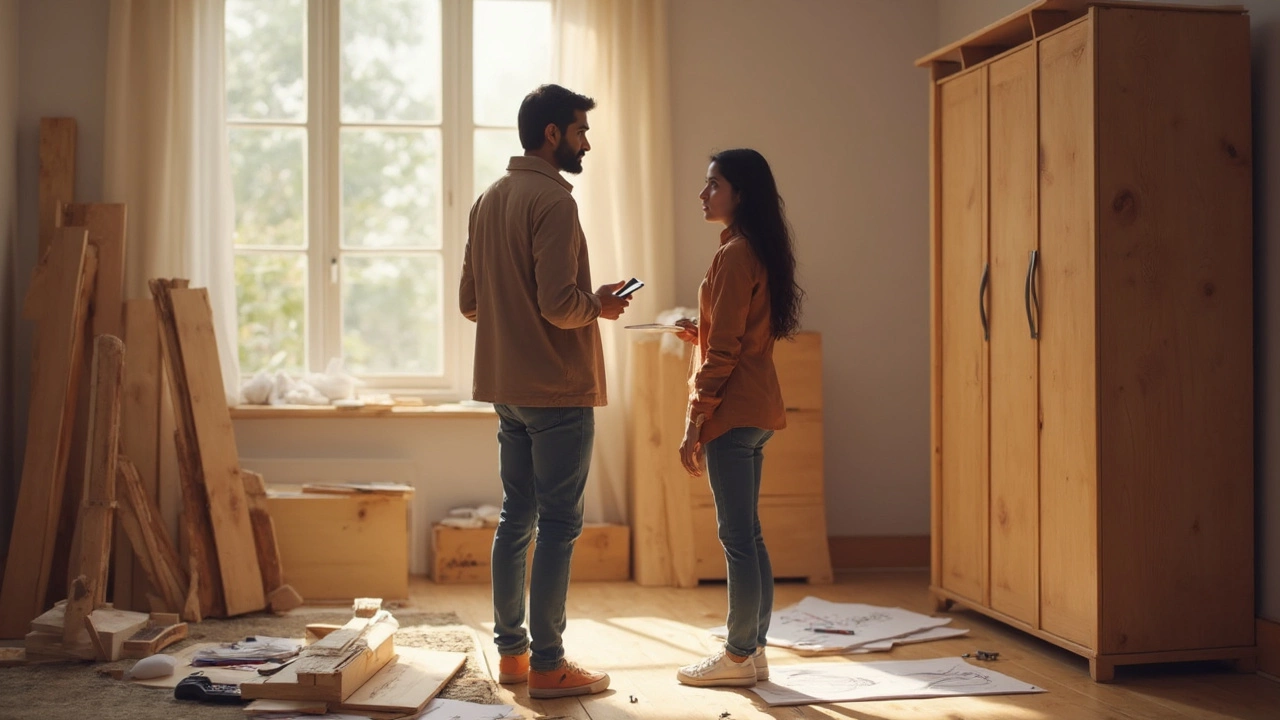
First, measure the area where the wardrobe will sit. Write down the width, height, and depth. Add a couple of centimeters for clearance so doors or sliding panels don’t scrape the wall. This simple step saves you from ordering material that’s too big or too small.
Why DIY Your Wardrobe?
Buying a ready‑made wardrobe often means compromising on size, style, or price. A DIY project lets you choose the finish, shelf layout, and hardware that match your room’s vibe. You also avoid hidden costs like delivery fees and assembly charges. Plus, the satisfaction of building something with your own hands is hard to beat.
Many people think DIY closets are only for large homes, but even a compact apartment can benefit. A wall‑mounted wardrobe saves floor space and makes the room feel bigger. If you’re tight on budget, repurposing reclaimed wood or plywood can give a high‑end look without the price tag.
Step‑by‑Step DIY Wardrobe Guide
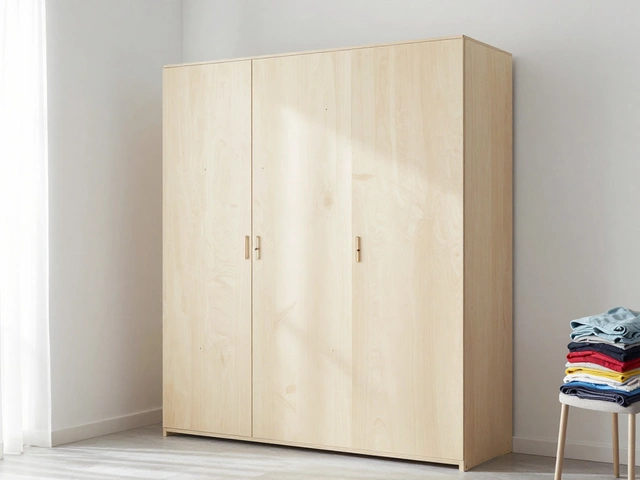
1. Choose Your Design. Sketch a basic layout on paper. Decide if you want hanging rods, shelves, drawers, or a mix. Look at popular styles like open‑shelf loft wardrobes or closed‑door cabinets. Simple box shapes are easiest for beginners.
2. Gather Materials. For a sturdy frame, use 18‑mm plywood or medium‑density fiberboard (MDF). Solid wood adds a premium feel but costs more. Buy hinges, handles, and a sliding‑track system if you prefer sliding doors. Don’t forget wood glue, screws, and a drill.
3. Cut the Panels. Mark your cuts with a pencil and a straight edge. If you don’t have a saw, many hardware stores will cut to size for a small fee. Double‑check every measurement before cutting – it’s easier to fix a mistake now than later.
4. Assemble the Frame. Start with the side panels, then attach the top and bottom using wood glue and screws. A carpenter’s square ensures right angles. If you’re adding a back panel, nail it in place for extra stability.
5. Install Shelves & Rods. Measure the spacing for each shelf and mark the inside walls. Use shelf pins or brackets for adjustable heights. For hanging space, a single metal rod works for shirts, while a double‑rod setup fits longer items.
6. Add Doors or Finish Open. For doors, attach hinges at the top and bottom, then line them up with the frame. Sliding doors need a track mounted on the top and a guide at the bottom. If you prefer an open look, skip doors and paint the interior to match the room.
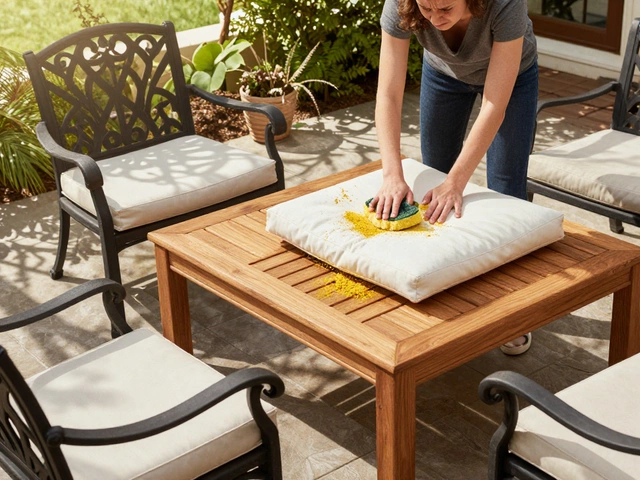
7. Finish & Paint. Sand all surfaces to remove rough edges. Apply a primer, then paint or stain in your preferred color. A matte finish hides fingerprints, while a glossy coat adds a sleek feel.
Once the paint dries, attach handles, install lighting if you like, and load your clothes. You’ll notice straight‑line organization and a wardrobe that actually fits your space.
DIY wardrobes also let you avoid the mystery of “wardrobes vs closets.” While a closet is typically built into a wall, a wardrobe stands alone and can be moved if you relocate. Understanding the difference helps you decide which option works best for renters.
Finally, remember that the price of a wardrobe isn’t just about material. Craftsmanship, hardware quality, and design complexity all affect cost. By handling the build yourself, you cut out the markup and end up with a piece you truly love.
Ready to start? Grab a tape measure, sketch your plan, and head to the hardware store. Your custom DIY wardrobe is just a weekend away.
Is it Cheaper to Build a Wardrobe? Real Numbers, Real Answers
Wondering if building a wardrobe saves money compared to buying one? This article breaks down the real costs, compares DIY and store options, and gives you practical tips on where you can save and what to watch out for. We’ll explore material prices, hidden costs, time investment, and how your skills make a difference. Expect smart advice to help you decide if building a wardrobe is the right move for your budget and space. You'll get hacks straight from people who’ve lived through the sawdust and shopping carts.