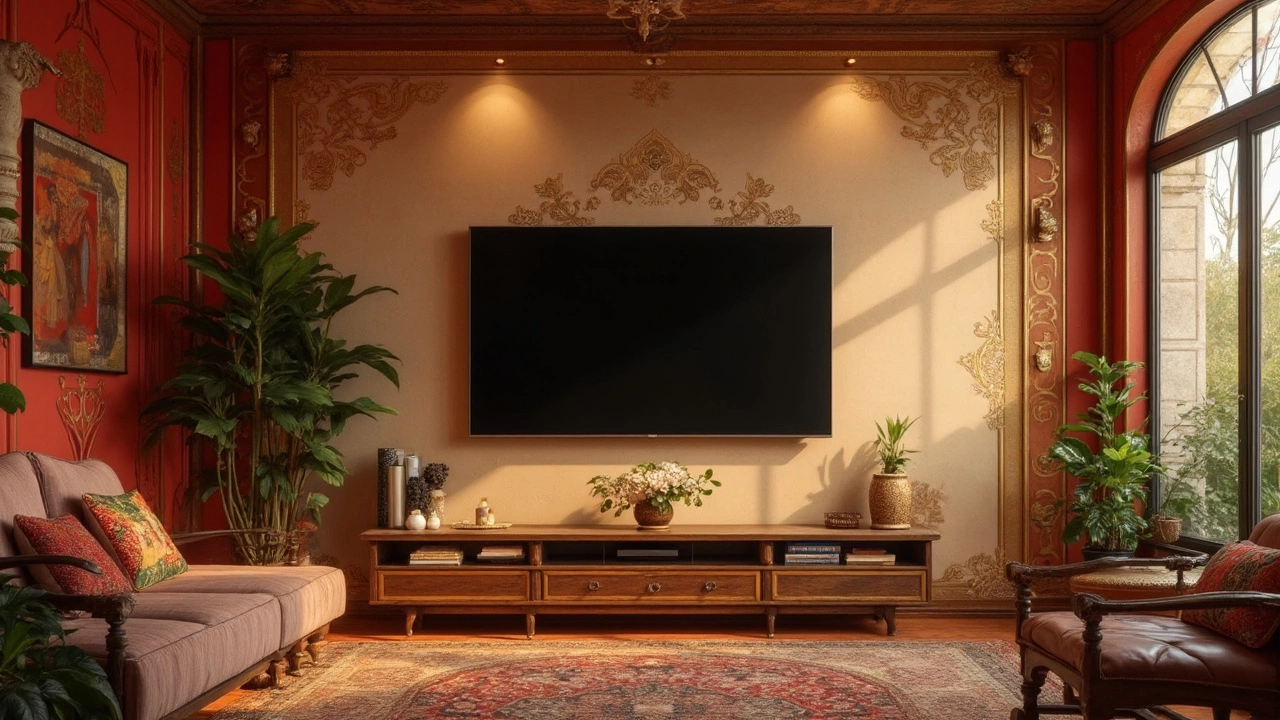
TV Installation: Simple Steps for a Perfect Setup
Got a new screen and wondering how to get it up on the wall without a mess? You’re not alone. Installing a TV looks harder than it is, but with the right tools and a clear plan you can do it in an afternoon. Below we break down the basics – pick the right mount, find the sweet spot for eye level, and then walk through the actual install.
Choosing the Right Mount and Height
First thing: decide whether you need a fixed, tilting, or full‑motion mount. Fixed mounts keep the screen flat and are the cheapest option. If you watch from a low couch, a tilting mount lets you angle the screen down a bit, reducing glare. Full‑motion arms are great for tight rooms because you can pull the TV out and swivel it toward different seats.
Next, measure where your eyes sit when you’re relaxed on the couch. A good rule of thumb is that the center of the screen should be about 42–48 inches from the floor for a 55‑inch TV. Use a tape measure, mark the spot, and double‑check with a friend. Too low and you’ll get neck strain; too high and the picture looks distant.
Step‑by‑Step Installation Process
1. Gather tools: drill with appropriate bits, a stud finder, screwdriver, level, pencil, and the mount’s hardware kit. If your wall is brick or concrete, you’ll need a masonry drill and anchors.
2. Locate studs: run the stud finder horizontally across the wall where you plan to mount. Mark the center of each stud – the mount’s screws must go into studs for safety.
3. Attach the mounting plate: hold the plate against the wall, align with the stud marks, and level it. Drill pilot holes, then screw the plate tightly into the studs.
4. Prepare the TV: lay the TV face‑down on a soft blanket. Fasten the bracket arms to the back of the TV using the supplied bolts. Make sure they’re snug but not overtightened.
5. Lift and hook: this is the trickiest part. It helps to have a second person. Lift the TV, line up the brackets with the wall plate, and lower it until it clicks into place.
6. Secure the safety screws: most mounts have a safety lock that prevents the TV from slipping. Tighten these screws as the final safety step.
7. Cable management: hide power and HDMI cables with a wall raceway or in‑wall kit. If you prefer an external look, use a decorative cord cover that matches your paint.
8. Test the setup: turn on the TV, check that the picture is level, and adjust tilt or swivel if needed. Sit in your favorite spot and fine‑tune the height or angle.
That’s it – you’ve turned a blank wall into a sleek entertainment hub. Remember, the key is planning: pick the mount that fits your viewing style, locate studs for a secure hold, and keep cables tidy. With a little patience, you’ll enjoy a crystal‑clear picture and a clutter‑free room for years to come.
Is It Safe to Mount a TV on Drywall?
Mounting a TV on drywall is a common home improvement project, but questions about safety often arise. This article explores whether it's secure to hang a TV on drywall, considering factors like weight and wall studs. We’ll dive into the types of tools and hardware needed for a safe installation. Tips for ensuring a sturdy mount are also included, giving you peace of mind while enjoying your favorite shows.