TV Stand Installation: Simple Steps for a flawless setup
Got a new TV and a fresh stand? You’re probably wondering how to get everything together without a headache. Good news – you don’t need a handyman. With a few basic tools and a clear plan, you can have your TV standing tall and looking sharp in under an hour.
What you’ll need before you start
First, gather the essentials. A Phillips screwdriver, a small hammer, a level, and a measuring tape are enough for most brands. Keep the instruction manual handy – it often has model‑specific quirks. If your stand comes with bolts, make sure you have the right size wrench or socket set. A soft blanket or rug can protect your floor and the TV during the process.
Step‑by‑step installation guide
1. Choose the right spot. Measure the width of your TV and the stand’s footprint. Leave at least a few inches of clearance on each side for ventilation and cable routing. The stand’s height should place the screen’s center roughly at eye level when you’re seated – usually around 42‑48 inches from the floor.
2. Lay out the parts. Unbox the stand and lay out every piece on the blanket. Check the inventory list: tabletop, side panels, shelves, and hardware. Spot any missing screws early so you don’t get stuck halfway.
3. Assemble the frame. Most stands start with the side panels. Align the pre‑drilled holes, insert the bolts, and tighten just enough to hold the pieces together. Use the level to make sure the frame is square; a tilted stand can stress the TV and look sloppy.
4. Attach the tabletop. Slide the tabletop onto the frame, then secure it with the provided screws. Double‑check that the tabletop sits flush and doesn’t wobble. If you have a glass top, handle it with two people to avoid cracks.
5. Add shelves or drawers. If your stand includes extra storage, follow the same bolt‑and‑tighten routine. Shelves are great for media players, gaming consoles, or decorative pieces.
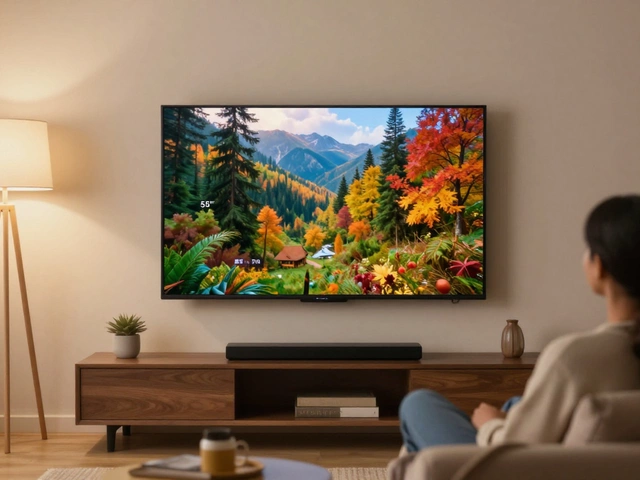
6. Position the TV. With the stand steady, lift the TV (ask a friend if it’s heavy) and center it on the tabletop. Some stands have brackets that lock the TV in place – attach them now, making sure the VESA pattern matches your TV’s mounting holes.
7. Organize cables. Run power and HDMI cables through any built‑in grommets or cable holes. Tie excess length with Velcro straps to keep the back tidy. A clean cable setup not only looks better but also reduces tripping hazards.
8. Final check. Go around the stand, tighten any loose bolts, and re‑level if needed. Turn on the TV, test the remote, and make sure all devices are recognized.
That’s it – you’ve just installed a TV stand like a pro. The whole process takes about 30‑45 minutes for most standard models, and you’ll have the satisfaction of a job well done.
Want a few extra tips? Place a small non‑slip pad under the stand if your floor is slick. Avoid drilling into the stand unless the manual says it’s safe – you could void the warranty. And if you’re mounting a large 65‑inch TV, consider a wall‑mounting kit for added stability, especially in homes with kids or pets.
Now sit back, relax, and enjoy your newly installed TV stand. It’s amazing how a little effort can transform the whole living room vibe.
Can Any TV Stand Be Wall Mounted? Tips, Risks & Safe Solutions
Thinking of wall mounting a TV stand? Discover which TV stands can actually be mounted, what risks come with DIY hacks, and safer alternatives for your living room.


